Exploring TOC Structure
Contents |
Introduction
The Table of Contents (TOC) is a tree structure that is a relational hierarchy with three nodes:
Title Node: The highest node in the TOC pane that represents the entire compilation. Typically, this is the name of the Textbook, Course, Collection or Lesson Plan.
Sibling Node: Represent nodes that are at the same hierarchy within the compilation. Typically, these are the topic headings within a Textbook, Course, Collection or Lesson Plan.
Child Node: Represent nodes that have at least one node higher in the hierarchy of the compilation. The node of at the higher level is the parent of the child. Typically, the child nodes are sub-headings in a topic.
However, when you create the first node after adding the title node, you need to add a child node and not a sibling node. For example, for the English textbook of class V, the title of the book becomes the title node. Each unit heading within the book is the child node. Subsequent chapters becomes sibling nodes. Let us consider the example of a class V English textbook.
Note: When a book/collection/course is updated, the table of contents tree is updated automatically.
| Heading Type | Corresponding Node | Node Name |
|---|---|---|
| Textbook Name | Title Node | Great Fun With Grammar |
| 1st Chapter Name | Child Node | Nouns |
| Activity in Chapter 1 | Child Node | Fun Task |
| 2nd Chapter Name | Sibling Node | More Nouns |
| Activity in Chapter 2 | Child Node | My Fun Corner |
Prerequisites
| Step | Screen |
|---|---|
| 1. You are logged in 2. You are currently on My Workspace page 3. You have clicked on any one of the following: a)Book b)Course c)Collection d)Lesson Plan Note: The images used to explain the node structure in this section correspond to adding nodes in collection. This is used for reference purpose. Screens vary slightly for each content type, viz., book, collection, course, lesson plan | 
|
Adding Child Node
| Step | Screen |
|---|---|
| 1. To add a child node, you can either a) Click New child from the burger menu &npsp;associated with the required node in the left navigation pane, OR b) Right-click on the node name and select New sibling, OR c) Use the keyboard shortcut Ctrl+Alt+N Note: The metadata for sibling and child nodes is the same. For details on the metadata, refer Node Metadata | 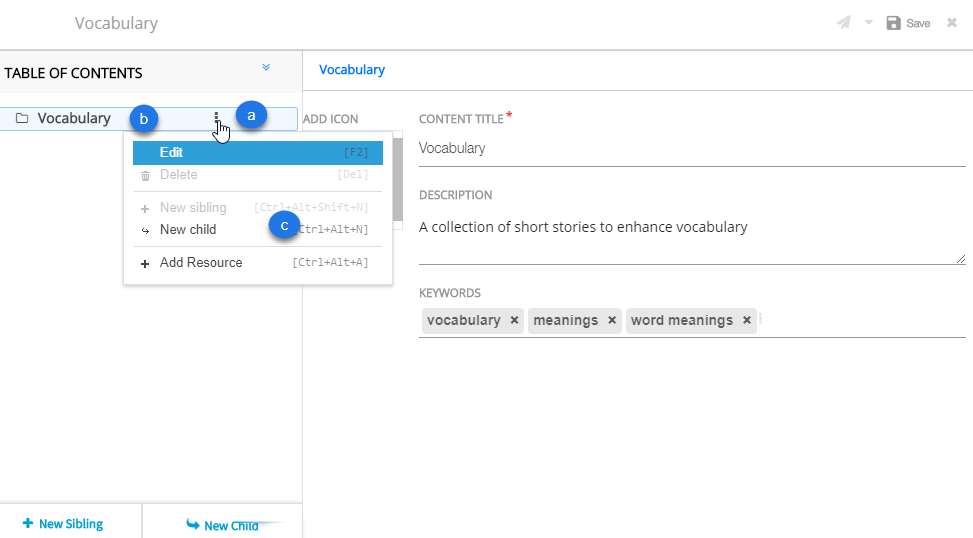
|
Adding Sibling Node
| Step | Screen |
|---|---|
| 1. To add a sibling node, you can either a) Click New sibling from the burger menu associated with the required node in the left navigation pane, OR b) Right-click on the node name and select New sibling, OR c) Use the keyboard shortcut Ctrl+Alt+Shift+N Note: The metadata for sibling and child nodes is the same. For details on the metadata, refer Node Metadata | 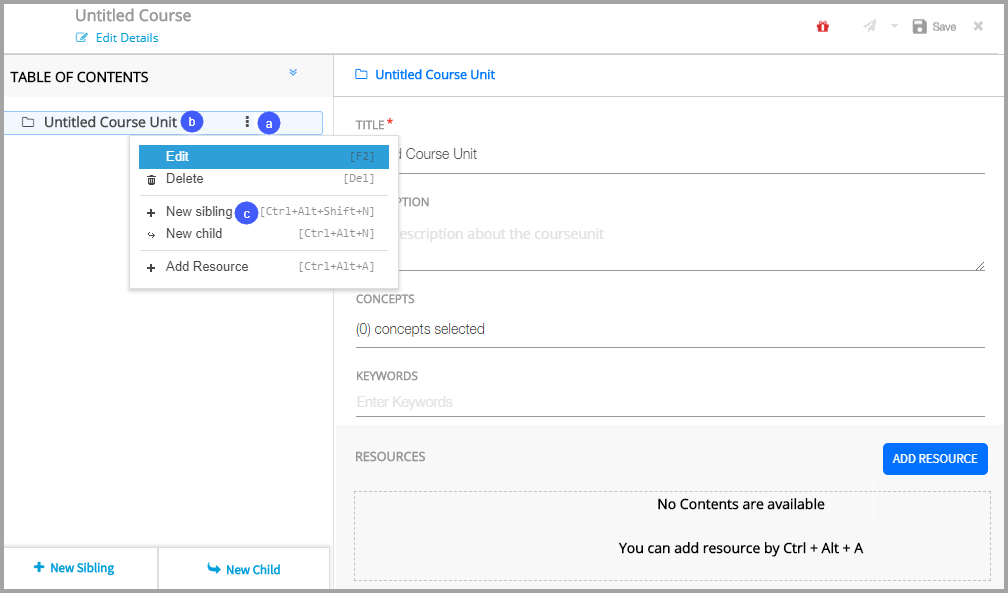
|
Node Metadata
On clicking New Sibling or New Child, the metadata is displayed on the right
| Step | Screen |
|---|---|
| 1. Enter Content Title 2. Enter Description 3. Enter Keywords 4. Click Save to save the metadata 5. Click Image icon to add image to the metadata. For details on the metadata, refer Adding Image to Metadata | 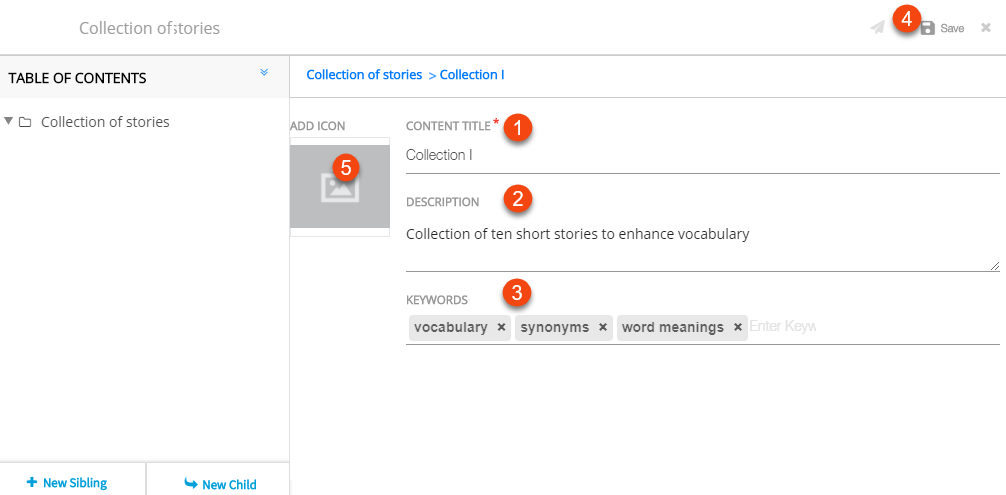
|
Deleting a Node
| Step | Screen |
|---|---|
| 1. Click Delete icon on the burger menu associated with the node 2. Click Yes to delete the node Note: You can alternatively delete nodes by clicking Delete in the burger menu drop-down. If there is a child or siblings in the node, then they too are deleted. | 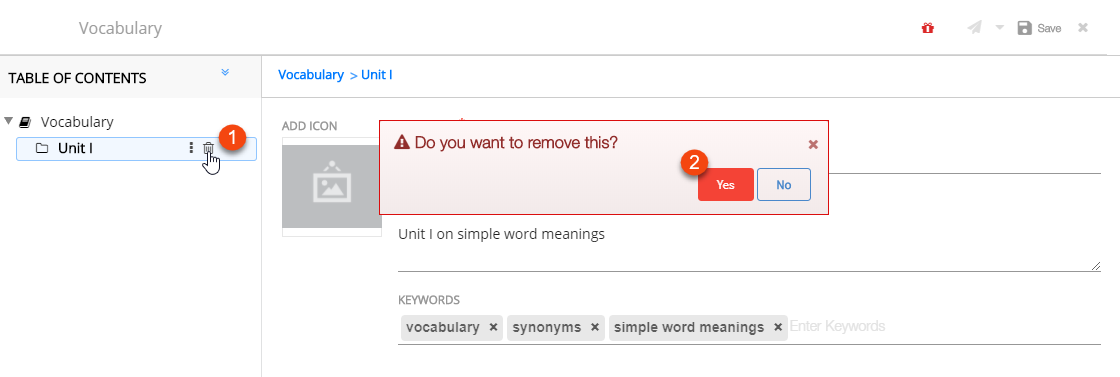
|