Creation and Curation of Resources
Contents |
Overview
DIKSHA houses a wide variety of content. Users can directly create content on DIKSHA using the inbuilt content editor. Content available offline for example, a pdf file available in your local system can be uploaded on DIKSHA. For more details on uploading content, created offline, refer Uploading Content
Resources are the simplest/smallest unit of content that can be created by any user on DIKSHA using the inbuilt content editor. The various categories of resources that can be created on DIKSHA include:
- Experiment
- Learn
- Play
- Practice
- Read
- Teach
- Test
Each of these categories corresponds to the learning process/methodology that is deployed to teach a particular piece of content. For example, a tutor creates an activity and the intent is to educate the learner about a concept through a game. The resource category in this case is, Play. Similarly, a tutor creates a story to enhance the reading skills of the learner, the story falls under the category of Read.
This page details the procedure of creating resources on DIKSHA
Prerequisites
| Step | Screen |
|---|---|
| 1. You are logged in
2. You have clicked on Workspace tab 3. You have clicked on Resource tile | 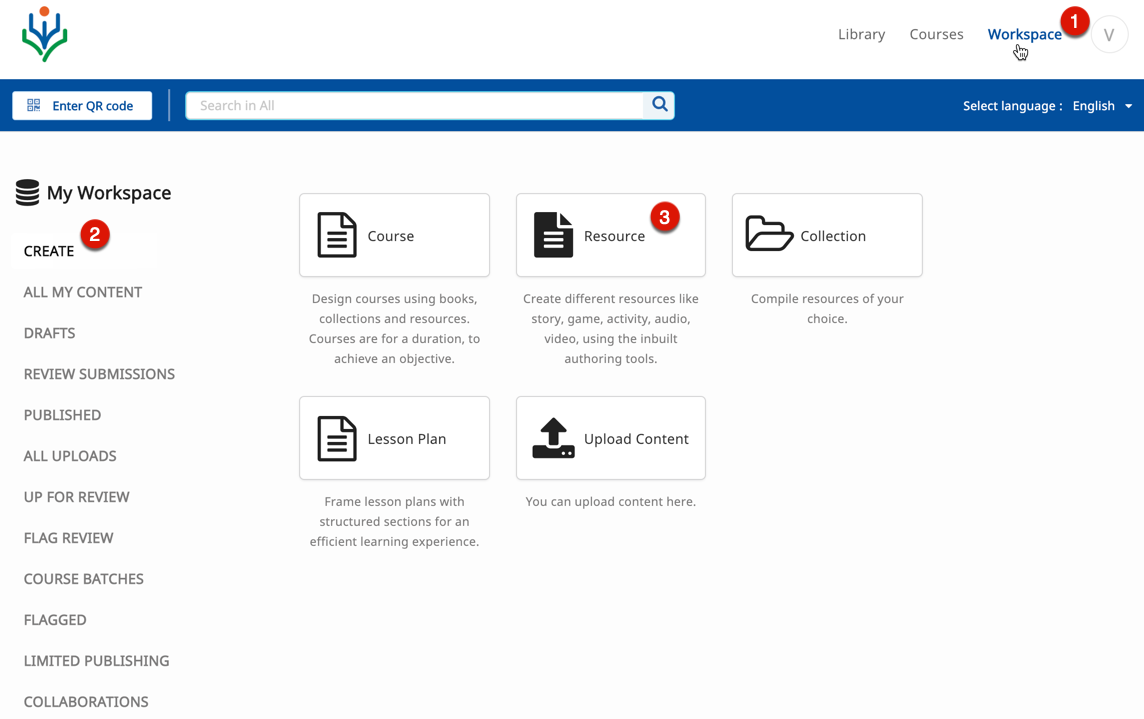
|
Creating Resources
| Step | Screen |
|---|---|
| On Create Resource screen
1. Enter Name of the course Select the values in the following drop-down lists: 2. Click Start Creating 3. Select Board 4. Select Medium 5. Select Grade 6. Select Subject 7. Select Content Type | 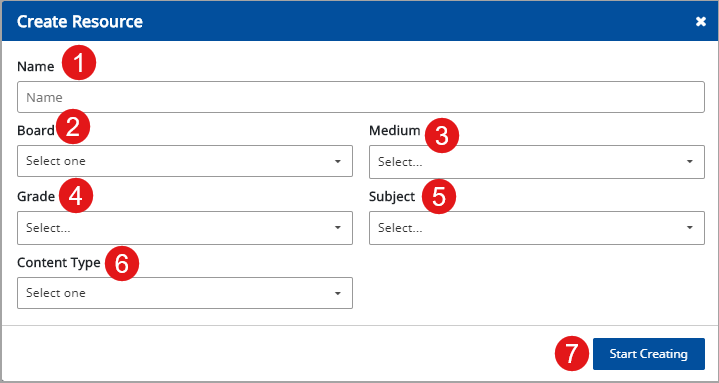
|
Editing Resource Details
Once the resource is created, using the content editor, all details pertaining to the resource must be updated before sending the resource for review.
| Step | Screen |
|---|---|
| 1. Click the Edit Details link on the top left corner of the page | 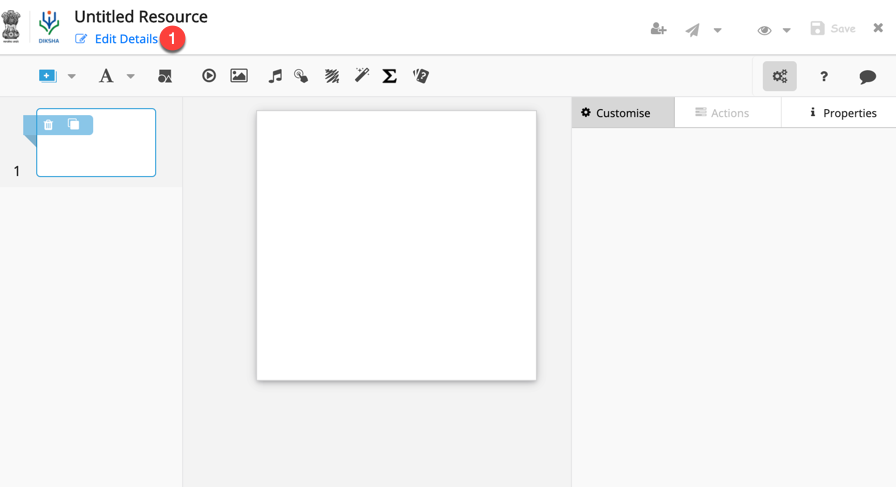
|
|
1. Click the camera icon to add an image Note: For details, refer Adding Image to Metadata 2. Enter Title 3. Enter Description for the resource 4. Enter Keywords 5. 5. The Collection Type is auto-filled based on the content type that is being created 6. Select the following from their respective drop-down lists: a. Additional Category b) Board c) Medium d) Class e) Subject 7. Enter Topic Note: To know more refer Selecting Topics 8. Enter Audience 9 Enter Original Author 10. Enter Attributions 11. Enter Copyright 12. Enter the Year of Creation 13. Select the License for the content from the drop-down list 14. Click Save to collectively save all updates 15. Click Cancel to exit the page Note: These details can also be added later when updating the resource details before sending it for review | 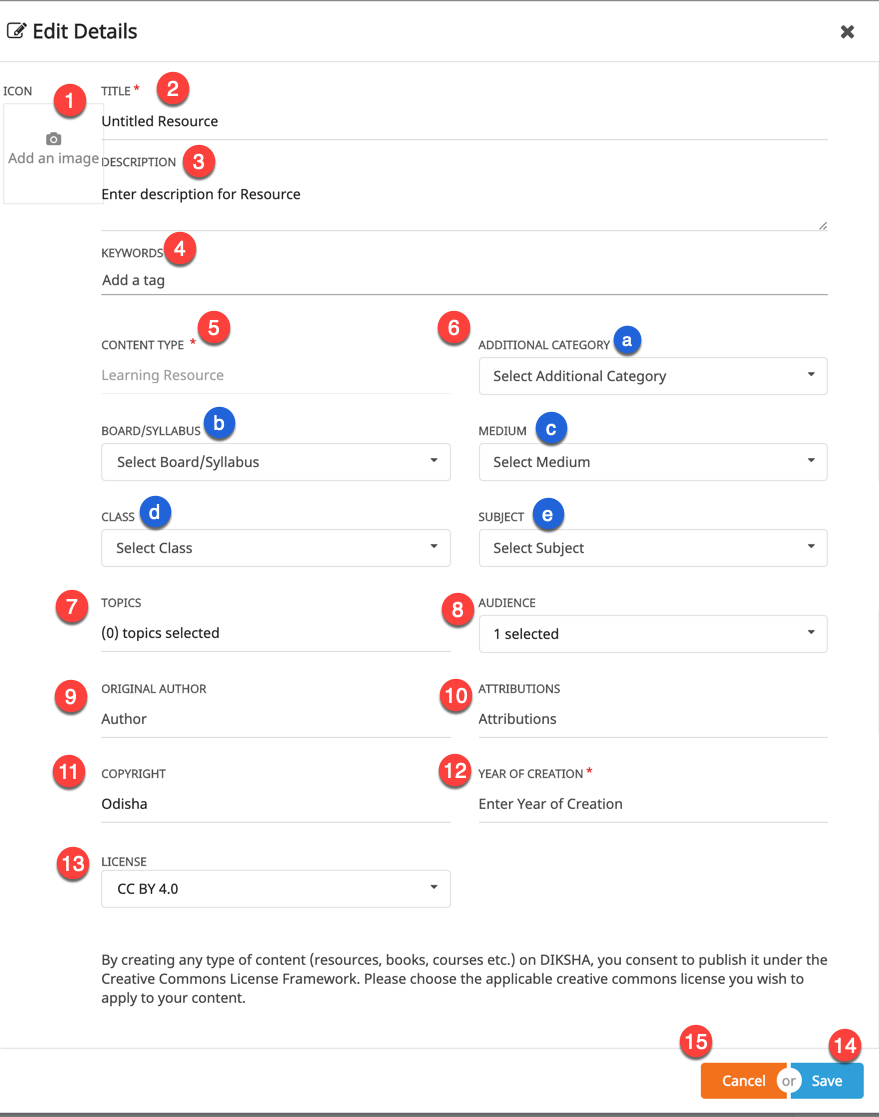
|
Content Types
DIKSHA supports the following additional Content Types for all
- Lesson Plan
- Explanation Resource
- Practice Resource
- Learning Outcome Definition
Content Editor
DIKSHA provides an inbuilt content editor to create engaging and innovative content. For details on how to create resource using the content editor, refer Content Editor
Sending Resource for Review
| Step | Screen |
|---|---|
| 1. Click Save on the header to save the created resource
2. Click Send for review. Before sending for review, you can share the content to a limited audience. To know more about Limited Sharing, refer Limited Publishing and Sharing | 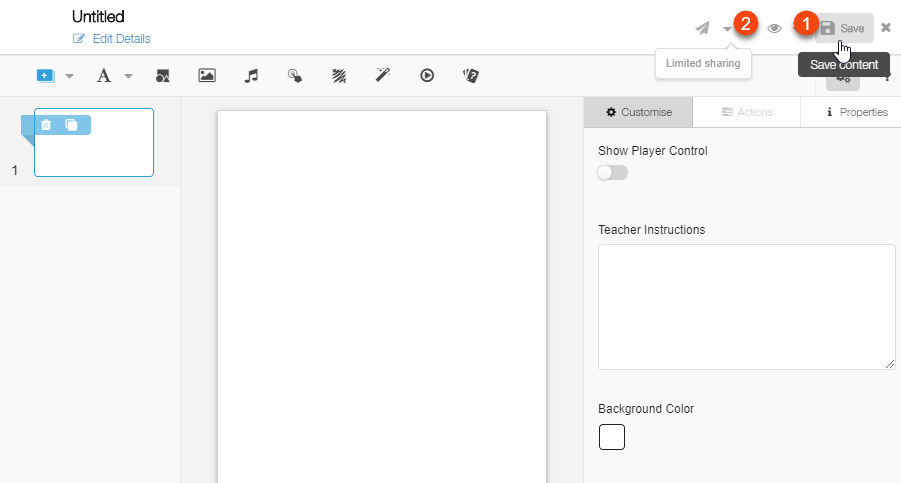
|