Lesson Plan
Contents |
Overview
Lesson plan is a structured outline of a given topic, unit, chapter to be taught on any given day. Lesson plan aids to streamline teaching and create an engaging learning experience.
Prerequisites
| Step | Screen |
|---|---|
| You are logged in
1. You are currently on Workspace 2. You have selected Create 3. You have clicked the Lesson Plan tile | 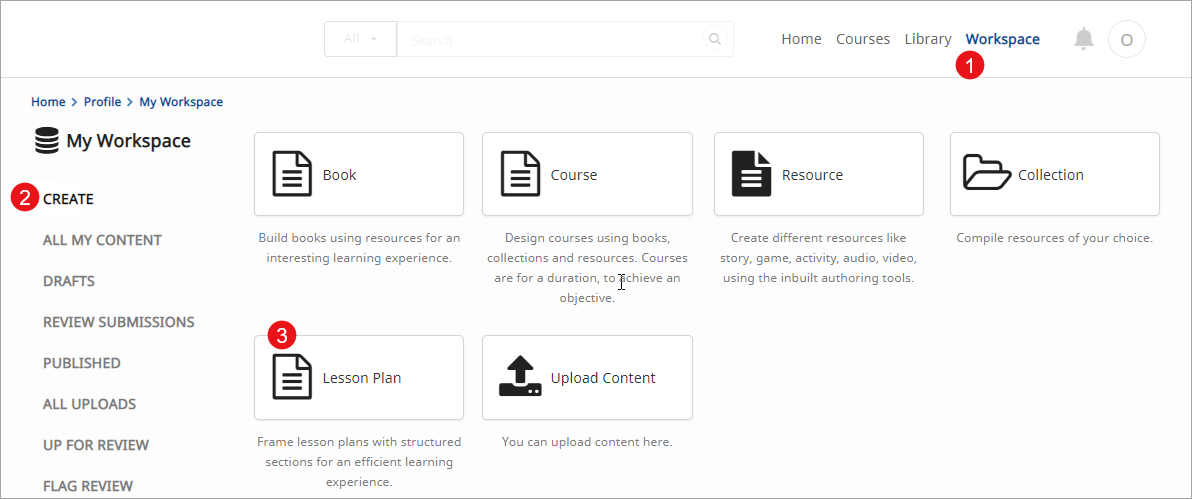
|
Creating Lesson Plan
| Step | Screen |
|---|---|
| On Create Lesson Plan screen
1. Enter Name of the course 2. Click Start Creating | 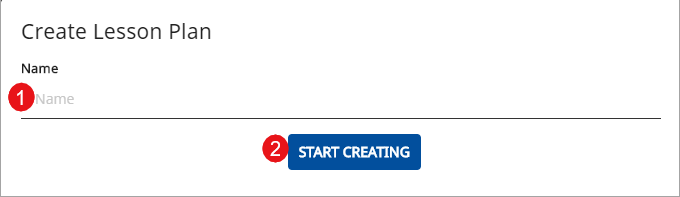
|
Adding Details
| Step | Screen |
|---|---|
| 1. Click the Edit Details link on the top left corner of the page
2. Click the camera icon to add an image Note: For details, refer Adding Image to Metadata 3. Enter Name 4. Enter Description for the lesson plan 5. Enter Keywords 6. Select the values from the following drop-down lists: a) Board/Syllabus b) Medium c) Class d) Subject | 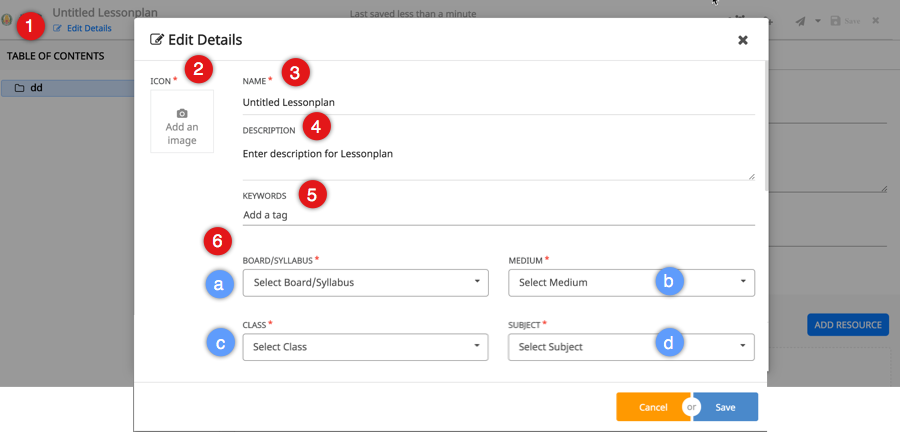
|
|
7. Enter Notes to Teacher
8. Enter Learning Objective 9. Enter Duration 10. Select Topics Note: To know more refer Selecting Topics 11. Select Year 12. Enter Original Author 13. Enter Attributions 14. Enter Copyright 15. Enter Year of Creation 16. Select the License for your content 17. Click Save to collectively save all updates 18. Click Cancel to exit the page | 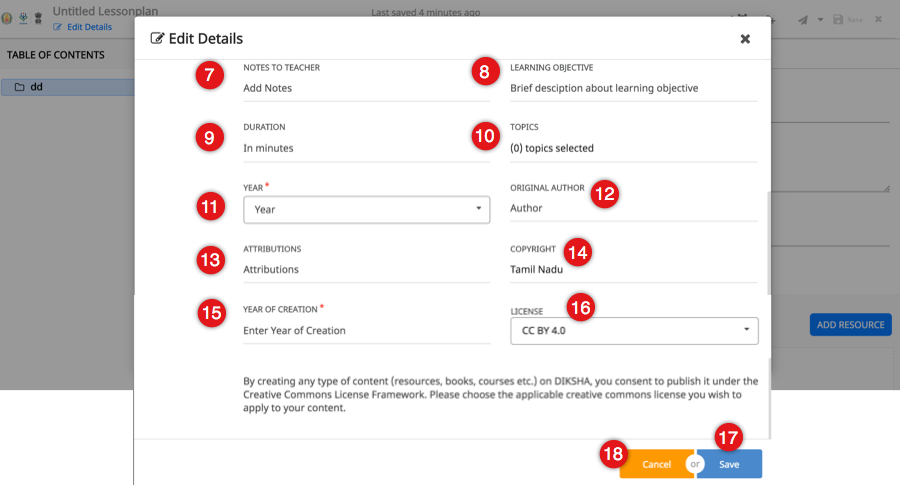
|
Adding Content to Lesson
| Step | Screen |
|---|---|
| 1. Click New Child on the left pane to add lesson unit or chapter
2. On clicking child node, a heading is added to the Table of Contents pane. For details on child node, sibling node, refer Exploring ToC Structure 3. Click Add Resource to add content to the headings. For details on adding resources, refer Adding Resources | 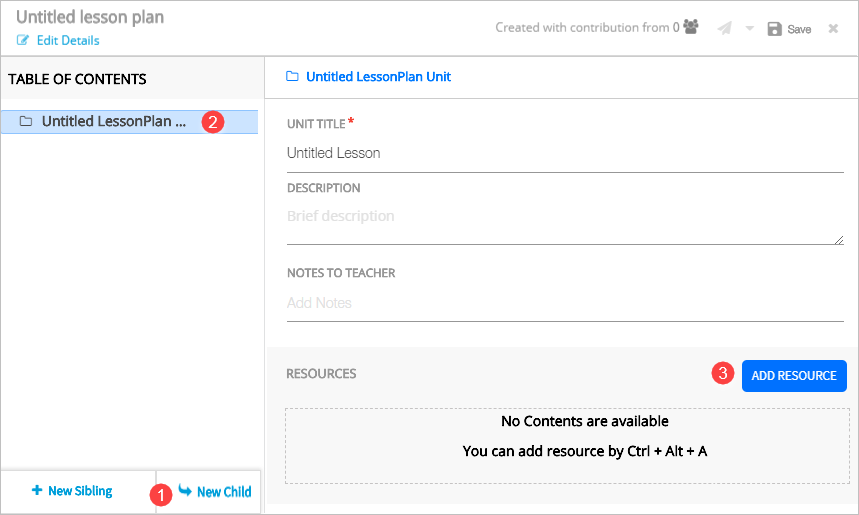
|
Adding Details to Lesson ToC
| Step | Screen |
|---|---|
| To start adding heading details in a unit
1. Enter Name. This is the unique name of the lesson 2. Enter Description 3. Enter Notes to Teacher 4. Click Save to save the details | 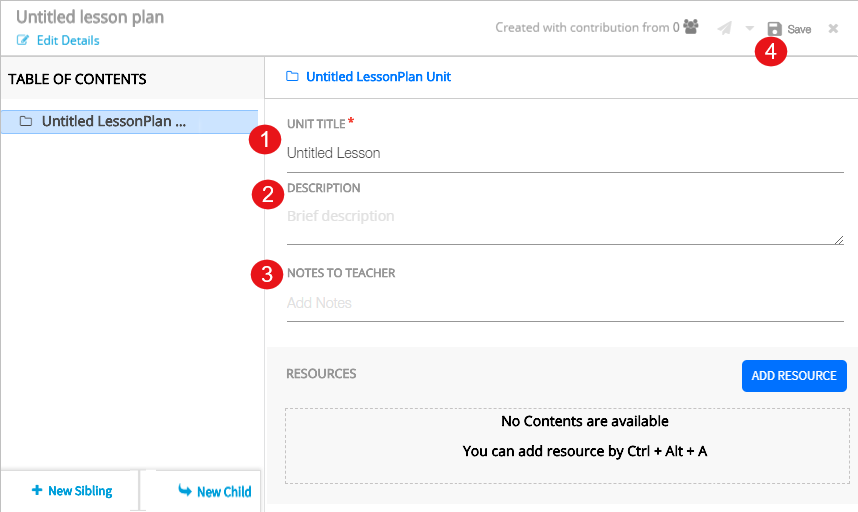
|
Viewing Contributor Details
| Step | Screen |
|---|---|
| 1. Click Add Resource to add resource to the Lesson Plan, refer Adding Resources
2. The resource is added to the Lesson Plan 3. The names of the resource owners appears under Created with Contributions From button | 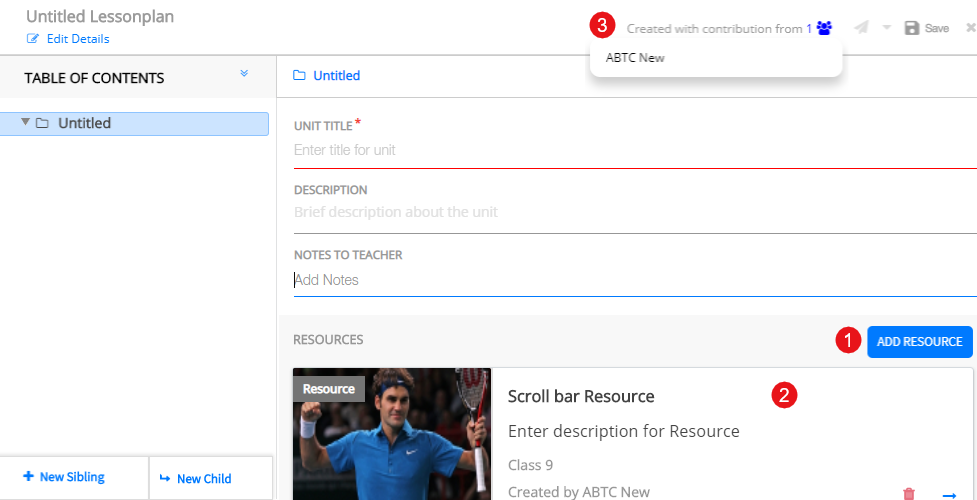
|
Working with Table of Contents
You can see Table of Content tree in the left pane to navigate content compiled for a collection, textbook, course or lesson plan. You can manipulate the tree using either:
- The burger menu associated with a tree node
- Right-click options associated with a tree node, OR
- Keyboard shortcuts
For details on manipulating the tree and adding content, refer Exploring ToC Structure
Deleting Content
| Step | Screen |
|---|---|
| 1. Click Delete icon beside the burger menu 2. Click Yes to delete the added content Note: You can alternatively delete content by clicking Delete in the burger menu drop-down | 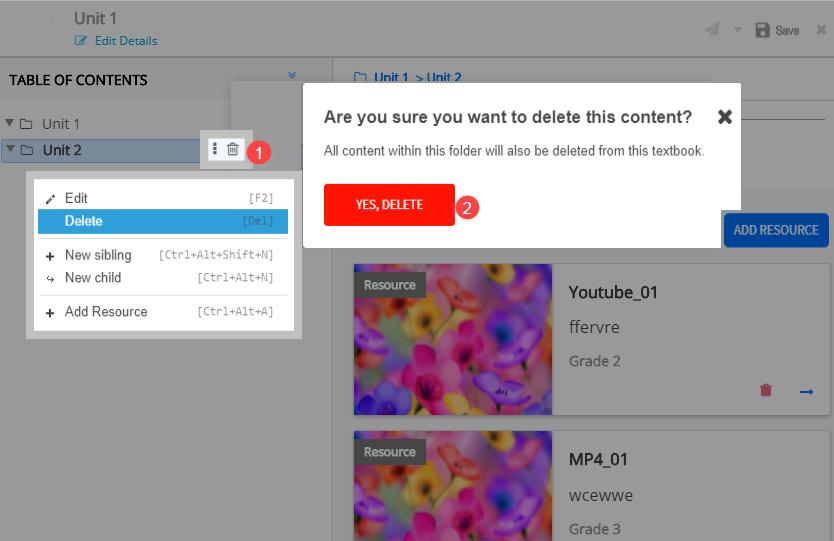
|
Reordering Content
| Step | Screen |
|---|---|
| 1. Drag and drop the content to the desired position to rearrange the order of the content added to the lesson plan | 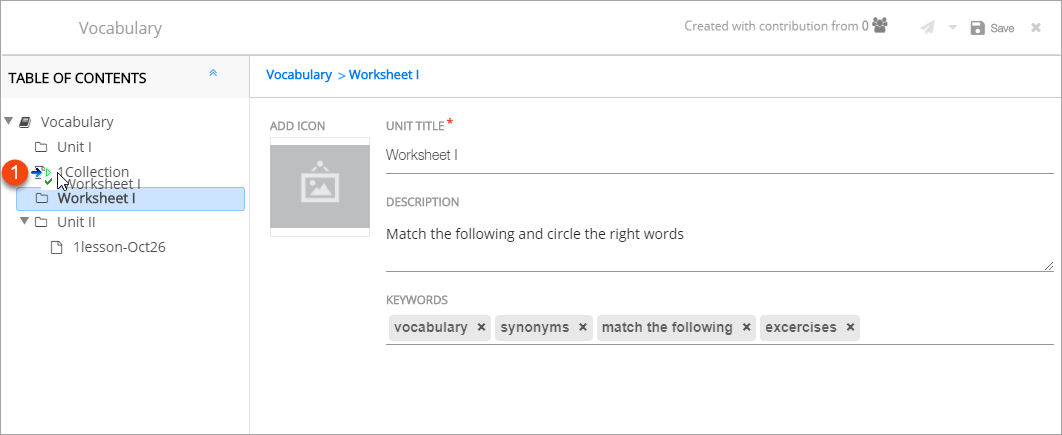
|
| 1. Click the upward arrow to collapse the table of contents. Click the same arrow to expand collapsed table of contents. | 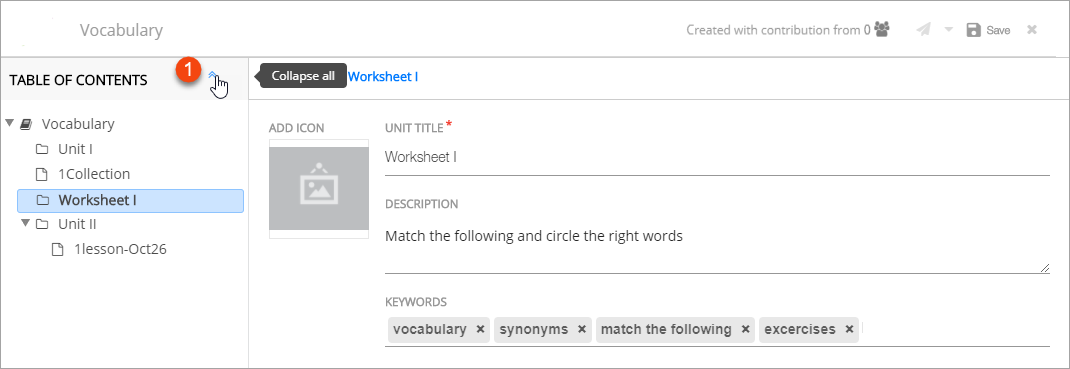
|
Sending Lesson Plan for Review
Before the Lesson Plan is published, it must be reviewed. You can send it for reviewing and publishing.
| Step | Screen |
|---|---|
| 1. Click Save on the header to save the lesson 2. Click Limited sharing to publish the lesson to the limited audiences Note: Refer Limited Publishing and Sharing to view and share all the contents created and ready for sharing. 3. Click Send for review to send the created lesson for review | 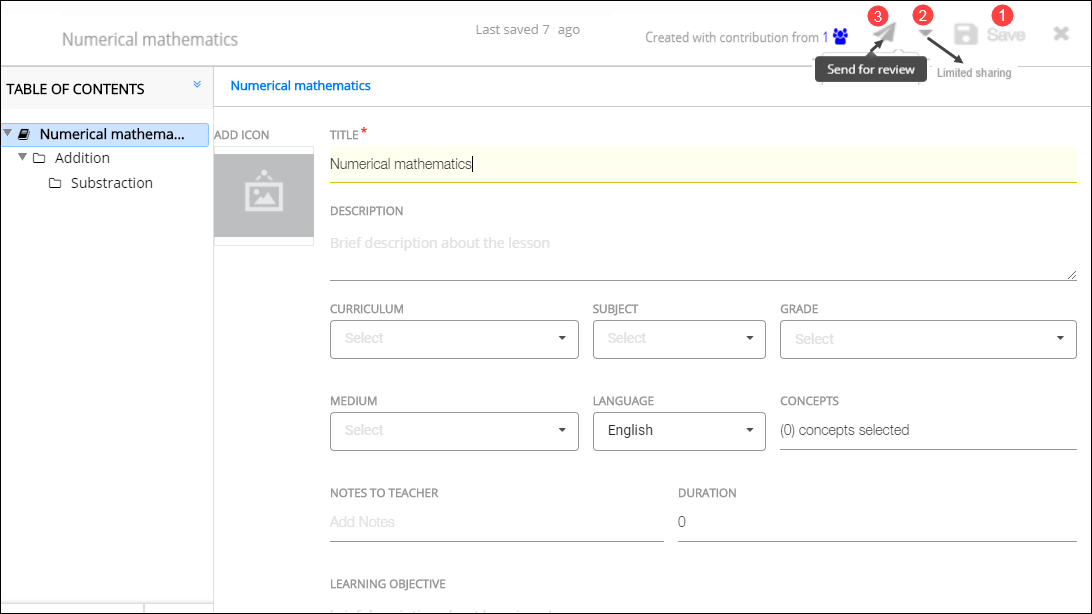
|
Exploring What’s New
| Step | Screen |
|---|---|
| The What’s New feature informs you of the product features added or enhanced since the last product release
1. Click on the What's New icon to view concise information about new product functionality Note: The What's New icon is red before you view it for the first time. The icon turns grey after you view the information, until the next product version | 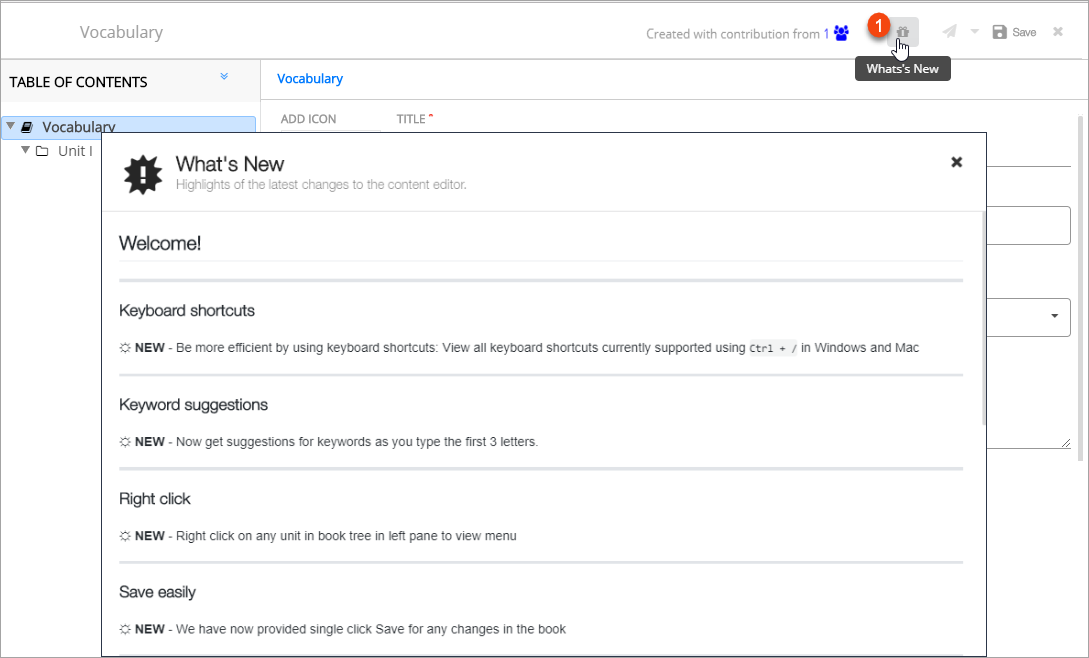
|